반응형
안녕하세요 ㅎㅎ 오늘은 Albumentations 모듈을 사용해서 이미지 transformation을 정의하고, 데이터셋에 적용하겠습니다.
Albumentations 모듈은 torchvision.transformer 보다 빠르게 작동하며, object detection task에서 이미지를 transform 적용하면 바운딩 박스도 함께 transform 되도록 할 수 있습니다. 즉, 아주 아주 편리합니다 ㅎㅎ
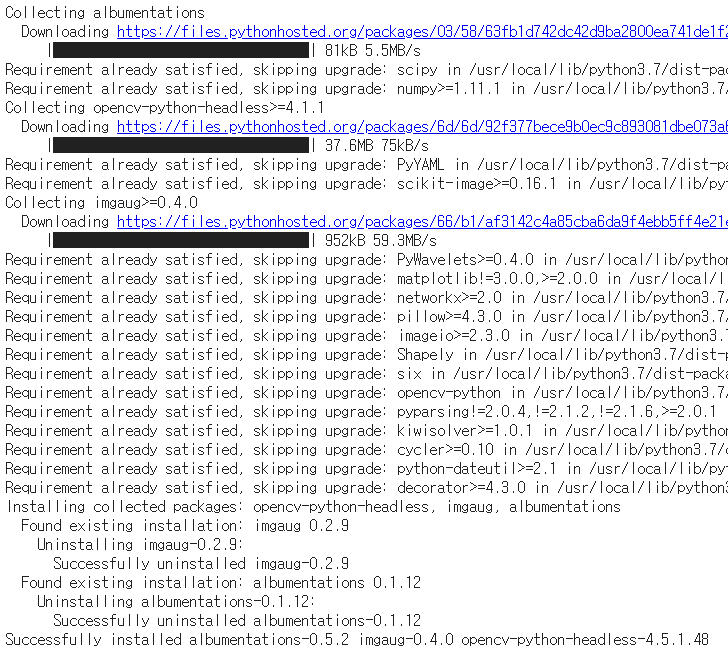
우선 albumentations 모듈을 설치합니다.
# install transformation package
!pip install -U albumentations
커스텀 데이터셋을 생성합니다. 저의 경우에는 VOC dataset을 사용했습니다.
class VOCDataset(Dataset):
    def __init__(self, csv_file, img_dir, label_dir, transform=None, trans_params=None):
        self.annotations = pd.read_csv(csv_file)
        self.img_dir = img_dir
        self.label_dir = label_dir
        self.transform = transform
        self.trans_params = trans_params

    def __len__(self):
        return len(self.annotations)

    def __getitem__(self, index):
        label_path = os.path.join(self.label_dir, self.annotations.iloc[index, 1]) # /PASCAL_VOC/labels/000009.txt
        img_path = os.path.join(self.img_dir, self.annotations.iloc[index, 0]) # /PASCAL_VOC/images/000009.jpg
        image = np.array(Image.open(img_path).convert("RGB")) # albumentation을 적용하기 위해 np.array로 변환합니다.

        labels = None
        if os.path.exists(label_path):
            # np.roll: (class, cx, cy, w, h) -> (cx, cy, w, h, class)
            # np.loadtxt: txt 파일에서 data 불러오기
            labels = np.array(np.roll(np.loadtxt(fname=label_path, delimiter=" ", ndmin=2), 4, axis=1).tolist())
            # labels = np.loadtxt(label_path).reshape(-1, 5)

        if self.transform:
            # apply albumentations
            augmentations = self.transform(image=image, bboxes=labels)
            image = augmentations['image']
            targets = augmentations['bboxes']

            # for DataLoader
            # lables: ndarray -> tensor
            # dimension: [batch, cx, cy, w, h, class]
            if targets is not None:
                targets = torch.zeros((len(labels), 6))
                targets[:, 1:] = torch.tensor(labels)
        else:
            targets = labels


        return image, targets, label_path
get_item 함수의 self.transform에서 image와 bboxes 두 인자를 설정해야 합니다.
trans dataset을 정의합니다.
# train dataset 생성하기
train_csv_file = '/PASCAL_VOC/train.csv'
label_dir = '/PASCAL_VOC/labels'
img_dir = '/PASCAL_VOC/images'

train_ds = VOCDataset(train_csv_file, img_dir, label_dir)
albumentations 모듈을 사용하여 transformation을 정의합니다.
VOC dataset의 바운딩 박스는 x1,y1,x2,y2로 되어있습니다.
albumentations 모듈을 사용하여 바운딩 박스 format을 yolo format인 cx,cy,w,h로 변경할 수 있습니다.
# transforms 정의하기
IMAGE_SIZE = 416
scale = 1.0

# for train
train_transforms = A.Compose([
        # 이미지의 maxsize를 max_size로 rescale합니다. aspect ratio는 유지합니다.
        A.LongestMaxSize(max_size=int(IMAGE_SIZE * scale)),
        # min_size보다 작으면 pad
        A.PadIfNeeded(min_height=int(IMAGE_SIZE * scale), min_width=int(IMAGE_SIZE * scale), border_mode=cv2.BORDER_CONSTANT),
        # random crop
        A.RandomCrop(width=IMAGE_SIZE, height=IMAGE_SIZE),
        # brightness, contrast, saturation을 무작위로 변경합니다.
        A.ColorJitter(brightness=0.6, contrast=0.6, saturation=0.6, hue=0.6, p=0.4),
        # transforms 중 하나를 선택해 적용합니다.
        A.OneOf([
                 # shift, scale, rotate 를 무작위로 적용합니다.
                 A.ShiftScaleRotate(rotate_limit=20, p=0.5, border_mode=cv2.BORDER_CONSTANT),
                 # affine 변환
                 A.IAAAffine(shear=15, p=0.5, mode='constant')
        ], p=1.0),
        # 수평 뒤집기
        A.HorizontalFlip(p=0.5),
        # blur
        A.Blur(p=0.1),
        # Contrast Limited Adaptive Histogram Equalization 적용
        A.CLAHE(p=0.1),
        # 각 채널의 bit 감소
        A.Posterize(p=0.1),
        # grayscale로 변환
        A.ToGray(p=0.1),
        # 무작위로 channel을 섞기
        A.ChannelShuffle(p=0.05),
        # normalize
        A.Normalize(mean=[0,0,0], std=[1,1,1], max_pixel_value=255),
        ToTensor()
        ],
        # (x1, y1, x2, y2) -> (cx, cy, w, h)
        bbox_params=A.BboxParams(format='yolo', min_visibility=0.4, label_fields=[])
        )
많은 기능을 추가했습니다 ㅎㅎ
이제 transforms를 적용합니다.
# 데이터셋에 transforms 적용하기
train_ds.transform = train_transforms
val_ds.transform = val_transforms
transform이 적용된 샘플 이미지를 출력합니다.
# 정규화된 x,y,w,h를 이미지 크기에 맞게 변경
def rescale_bbox(bb, W, H):
    x,y,w,h = bb
    return [x*W, y*H, w*W, h*H]

# 바운딩 박스 색상
COLORS = np.random.randint(0, 255, size=(80,3),dtype='uint8')

# image 출력 함수 정의
def show_img_bbox(img, targets, classes=classes):
    if torch.is_tensor(img):
        img=to_pil_image(img)
    if torch.is_tensor(targets):
        targets=targets.numpy()[:,1:]

    W, H = img.size
    draw = ImageDraw.Draw(img)

    for tg in targets:
        id_=int(tg[4])
        bbox=tg[:4]
        bbox=rescale_bbox(bbox,W,H)
        xc,yc,w,h = bbox

        color = [int(c) for c in COLORS[id_]]
        name=classes[id_]

        draw.rectangle(((xc-w/2, yc-h/2), (xc+w/2, yc+h/2)), outline=tuple(color), width=3)
        draw.text((xc-w/2, yc-h/2), name, fill=(255,255,255,0))
    plt.imshow(np.array(img))
# transforms가 적용된 sample image 확인
np.random.seed(2)
grid_size = 2
rnd_ind = np.random.randint(0, len(train_ds), grid_size)
print('image indices:',rnd_ind)
plt.figure(figsize=(20, 20))
for i, indice in enumerate(rnd_ind):
img, label, _ = train_ds[indice]
plt.subplot(1, grid_size, i+1)
show_img_bbox(img, label)
transforms가 적용되었으며, 바운딩 박스도 함께 변화합니다. 감사합니다.
반응형
'Python > PyTorch 공부' 카테고리의 다른 글
| [PyTorch] skimage모듈 mark_boundaries 함수를 사용하여 segmentation 경계 표시하기 (0) | 2021.06.11 |
|---|---|
| Google Colab에 파일 업로드하기 (0) | 2021.06.10 |
| [PyTorch] 가중치 초기화 함수 정의하고 모델에 적용하기 (0) | 2021.05.29 |
| [PyTorch] PyTorch에서 제공하는 VOC dataset 불러와서 사용하기 (0) | 2021.05.05 |
| [PyTorch] torch.bernoulli 를 활용한 Stochastic depth 학습 (0) | 2021.03.29 |